That startling moment when your garbage disposal suddenly goes quiet—or worse, starts making a low humming noise—is a universal kitchen frustration. Hey, I’m Scott, a Master Tech with years of experience helping homeowners with these exact problems on JustAnswer. Before you start looking up a plumber’s number, I’m here to tell you the fix is often right under your sink, and it’ll only take you a few minutes.
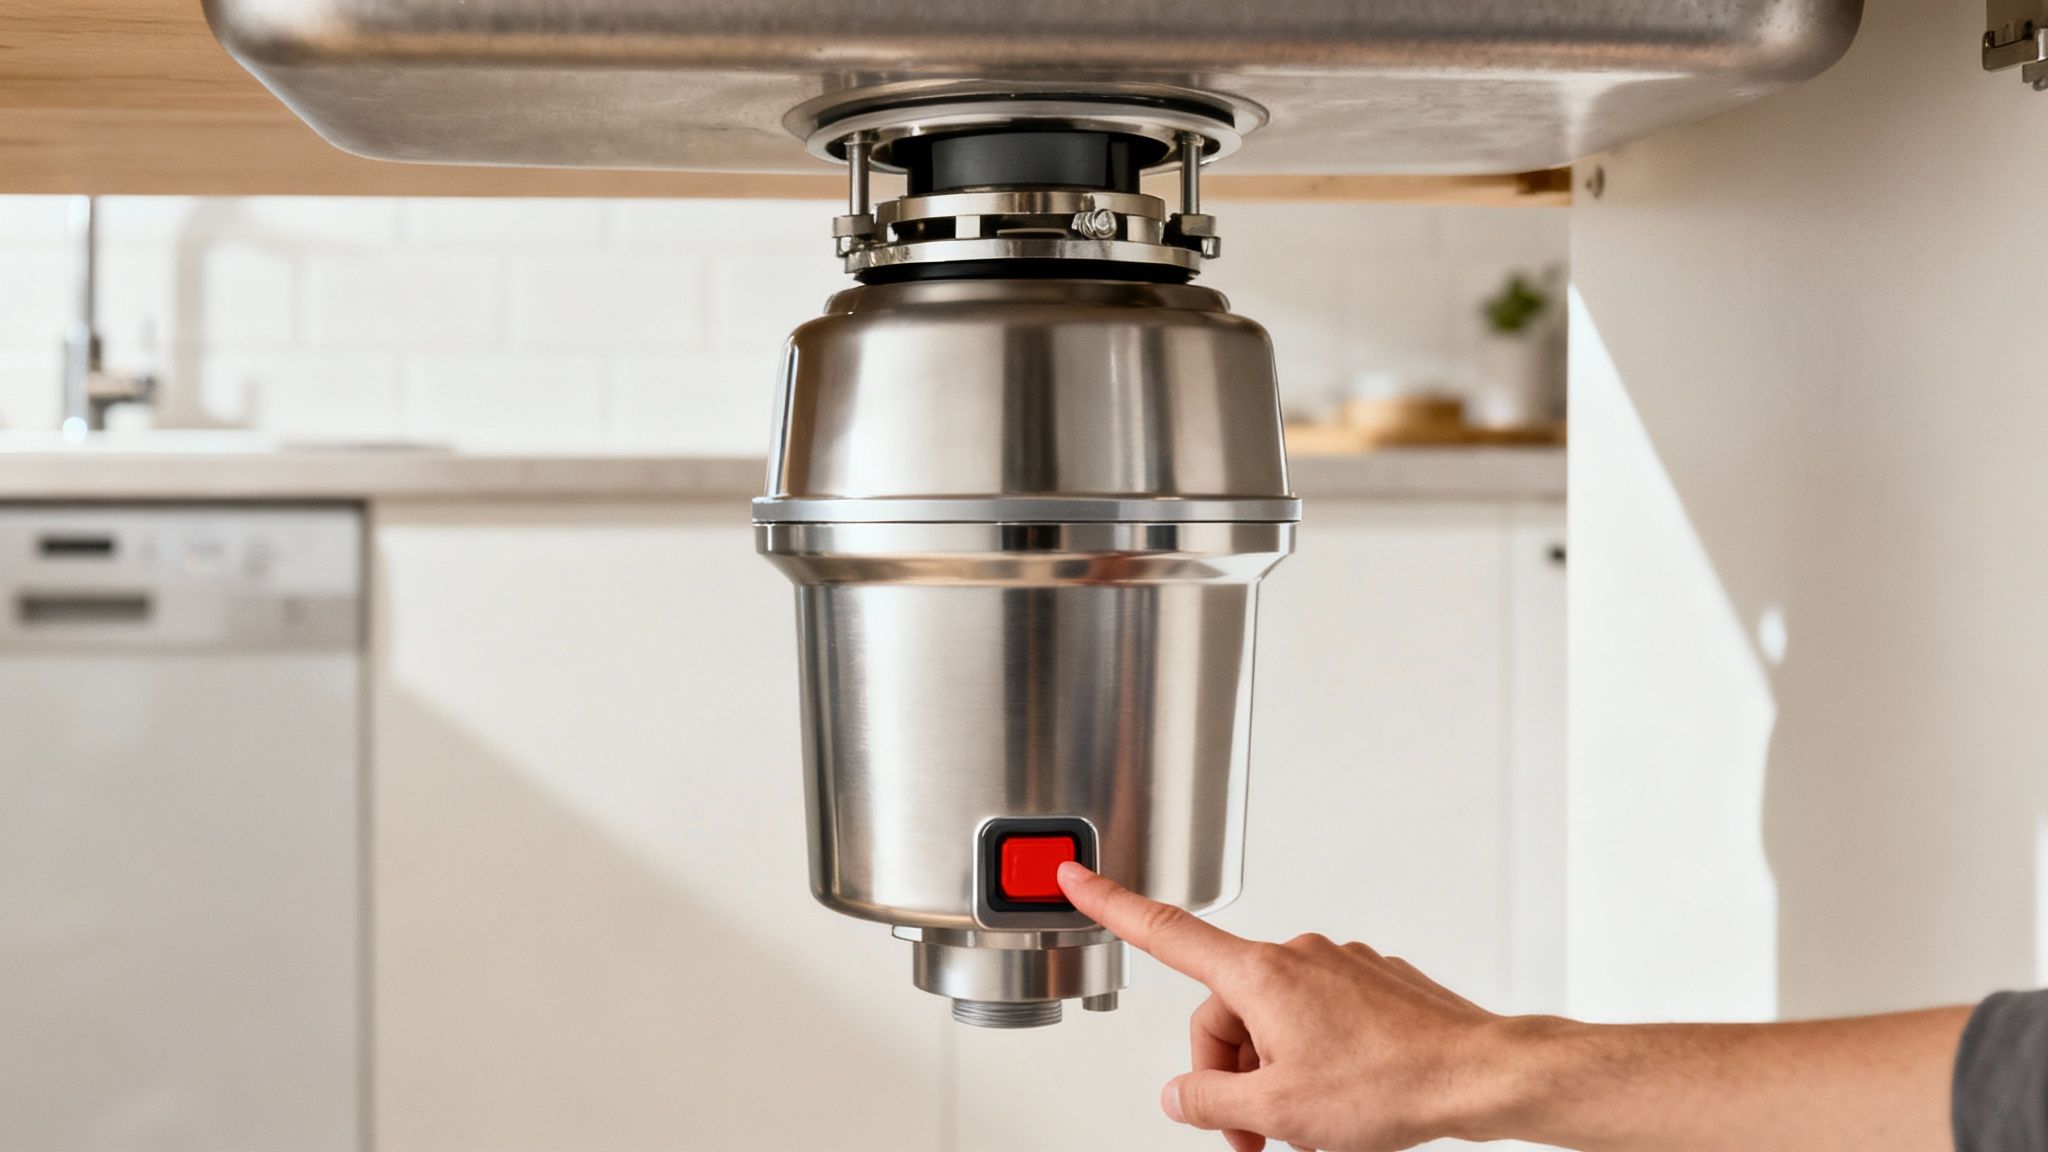
Most of the time, all you need to do is find and press the small red or black reset button on the bottom of the disposal unit. Think of it as a mini circuit breaker designed specifically to protect the motor from burning out.
Your Garbage Disposal Quit? Here Is the Quick Fix
Seriously, before you do anything else, check for this button. In my JustAnswer sessions, I’ve walked countless homeowners through this exact scenario, and it’s the first line of defense to get your kitchen running smoothly again.
This little button is a crucial safety feature. Knowing how to use it is a basic but essential piece of home maintenance knowledge. If you enjoy tackling these kinds of projects, you’ll find plenty of more DIY appliance repair guides to sharpen your skills.
Why Your Disposal Needs a Reset
A garbage disposal doesn’t just give up for no reason. That reset button is an internal circuit breaker that trips when the motor is under too much stress. This almost always comes down to one of a few common culprits:
- Overloading: Shoving too much food waste down at once is the number one cause. It puts too much strain on the motor.
- A Solid Jam: Sometimes it’s a foreign object—a stray piece of silverware, a fruit pit, or a small bone—that physically stops the blades from spinning.
- Overheating: Running the disposal for a long time without enough cold water can make the motor get too hot, causing it to shut down automatically.
Just to give you an idea, a disposal will likely experience a jam or overload that trips its reset button about 15-20% of the time during its lifespan. Knowing this simple trick can restore power and potentially cut down on service call costs by an estimated 30%.
Master Tech Tip: If you find yourself pressing that reset button frequently, it’s a clear signal of a bigger problem. Don’t just keep resetting it. You might be putting things down the drain that don’t belong there, or it could be a sign that the motor is starting to fail.
To help you quickly diagnose the issue, here’s a simple breakdown of what’s likely happening and what you need to do.
Garbage Disposal Reset At A Glance
| Symptom | Likely Cause | Quick Solution |
|---|---|---|
| Disposal is completely silent | Reset button tripped due to overload | Turn off the switch, press the reset button firmly. |
| Disposal makes a humming noise | A jam is preventing blades from spinning | Turn off power, manually clear the jam, then press reset. |
| It runs briefly, then shuts off | Motor is overheating | Let it cool down for 10-15 minutes before resetting. |
| The reset button won’t stay in | The jam is still present or motor has failed | Ensure the unit is clear; if it still trips, call a pro. |
This table should get you started, but remember to always prioritize safety by cutting the power before you investigate.
If a simple reset doesn’t do the trick, don’t throw in the towel just yet. But if you’re feeling stuck and want an expert to guide you in real-time, you can connect with a certified appliance tech on JustAnswer for affordable, 24/7 help.
Prioritize Safety Before You Start
Okay, before you even think about reaching under the sink, we need to talk about the most important step: safety. I’ve heard too many horror stories from my JustAnswer sessions that could have ended badly, all because this first part was rushed or skipped. You’re dealing with an appliance that mixes electricity, water, and sharp blades—it’s no joke.
First things first, you have to completely cut all power to the garbage disposal. And I don’t just mean flipping the wall switch. That’s not enough. You need to head over to your home’s breaker box and shut off the specific circuit that powers your unit. This is the only way to be 100% sure the disposal can’t accidentally kick on while your hands are nearby.
Once you’ve flipped the breaker, go back and double-check. Try turning on the disposal from the wall switch. If you get nothing but silence, you’re good to go.
This is also the perfect moment for a quick visual inspection under the sink. Take a look around for any obvious trouble spots before you start tinkering.
What to Look For
- Active Leaks: Check all the pipes and connections for any drips. Even a small one can be a sign of a bigger issue.
- Visible Wire Damage: Give the power cord a quick scan. You’re looking for any frayed spots or exposed wires.
- Corrosion: Any rust or significant mineral buildup on the unit itself can point to a slow, long-term leak you might not have noticed.
Following this simple safety check means you can move on to troubleshooting without putting yourself at risk. The infographic below breaks it down visually.
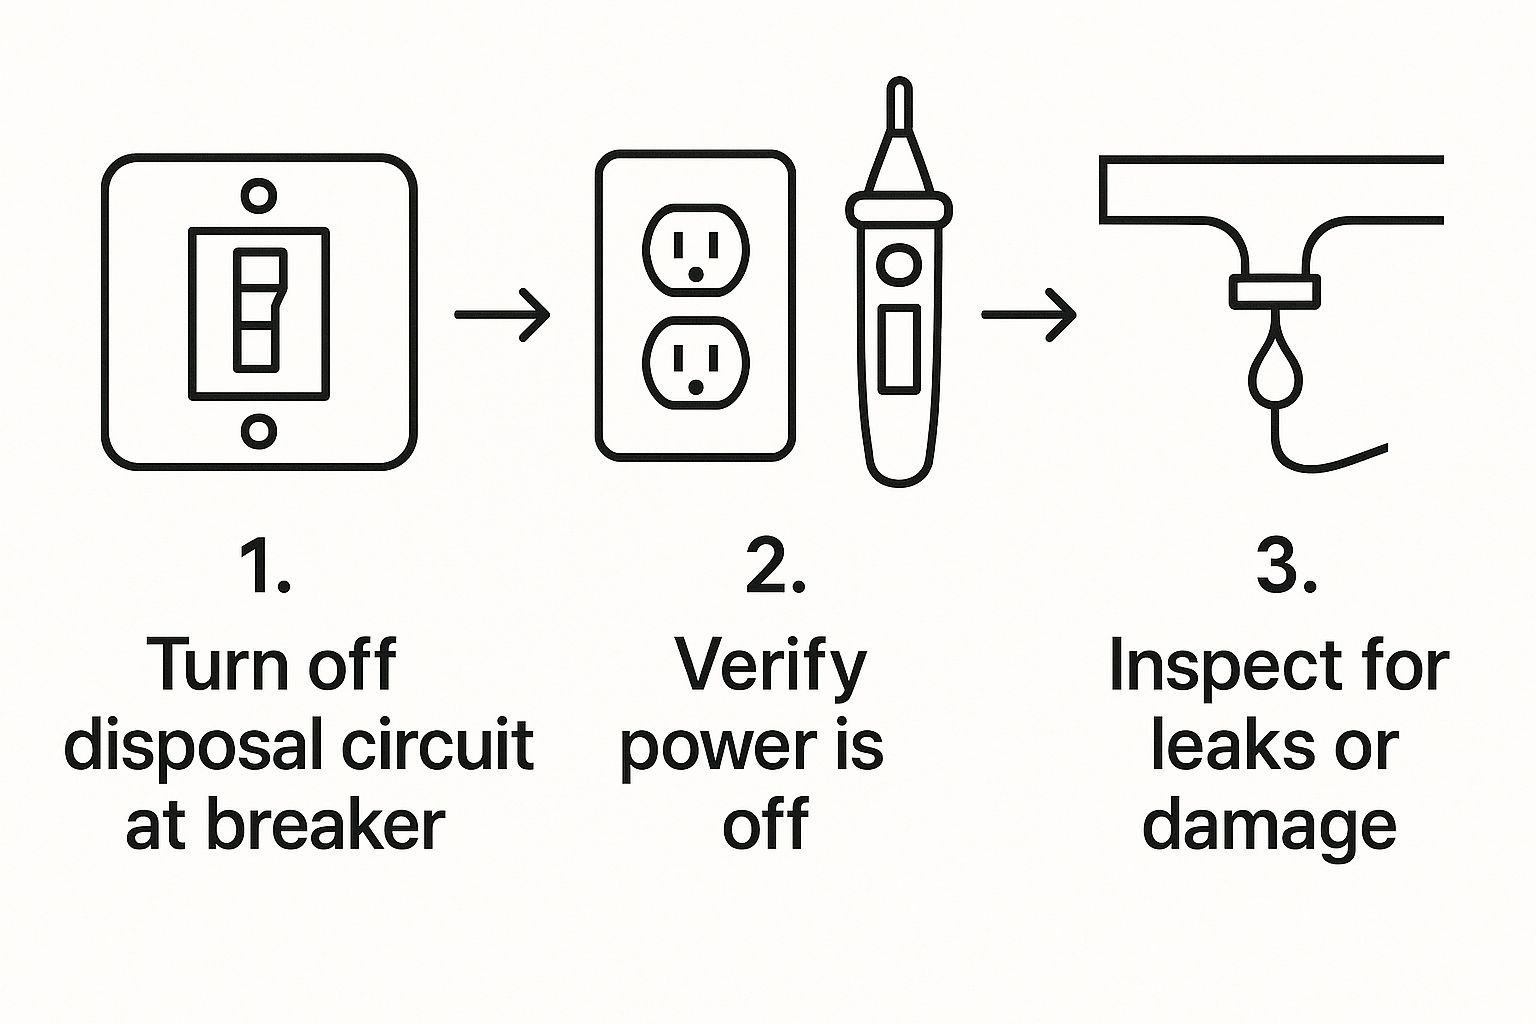
As you can see, it’s all about a simple sequence: kill the power, then inspect for damage. If you do spot significant leaks or chewed-up wiring, it might be time to call in a pro. Plumbing problems can get complicated fast, and sometimes finding the best plumber in Austin is the smartest and safest move you can make.
Finding and Using the Reset Button
Alright, with the power cut, it’s time to get under the sink and locate that little button. The garbage disposal reset button can be a bit elusive. You’re hunting for a small, slightly recessed button—it’s usually bright red, but I’ve seen my share of black ones, too.
For the most common brands like InSinkErator and Waste King, you’ll almost always find it smack-dab on the bottom of the unit. Think small, about the size of a pencil eraser. On my MasterTechScott YouTube Channel, I make a point of showing its location on different models to give people a better visual.
The Correct Way to Press the Button
Once you’ve found it, there’s a right way to press it. Push the button in firmly until you feel a solid click. That’s the sound of the internal circuit re-engaging. The button should stay in. If it immediately pops back out, don’t try to force it.
A button that won’t stay put is a frequent complaint I get during my JustAnswer sessions. It’s not broken; it’s actually the disposal telling you something is still wrong.
This almost always means one of two things: the motor is still too hot and needs more time to cool down (give it another 10-15 minutes), or a physical jam is still preventing the blades from moving. It’s a safety feature doing its job.
If the button stays depressed, you’re in business. Head back to the breaker box and flip the power back on. The next part is crucial: turn on the cold water first to lubricate everything, and then flip the wall switch for the disposal.
If it roars back to life, congratulations! You’ve just learned how to reset your garbage disposal. If all you get is a persistent hum, that tells us there’s still a jam we need to clear out next.
Occasionally, a stubborn clog is related to the plumbing setup, especially when a dishwasher is involved. You can check out a helpful air gap plumbing diagram to get a better sense of how all those pipes connect. If you’re still stuck after all this, sometimes you just need an expert eye. You can connect with a certified appliance tech on JustAnswer for fast, one-on-one help.
What to Do When the Reset Fails

So, you’ve hit the reset button, but all you’re getting is silence or that frustrating, low hum. This is a classic scenario I see all the time, and it almost always means one thing: something is physically stuck inside. The reset button did its job and killed the power to protect the motor, but the actual obstruction is still jamming the works.
This is where we have to get a little more hands-on. Don’t worry, this is a core homeowner skill, and once you do it, you’ll know how to handle it for life. We’re about to go from treating the symptom to fixing the real problem.
Grab an Allen Wrench to Manually Clear the Jam
Most disposals ship with a small, L-shaped tool often called a jam-buster wrench, but you don’t need it. Any standard 1/4-inch Allen wrench will work perfectly. Flip your head under the sink and look at the very bottom of the disposal unit. Dead center, you’ll find a small hexagonal socket made for exactly this moment.
With the power absolutely off at the breaker box, stick the Allen wrench into that socket. Now, you’ll need to work it back and forth with some force, almost like you’re trying to crank a stubborn lever. It will feel stuck at first, but keep applying firm, steady pressure in both directions. You are manually forcing the grinding plates to move, which is what will break the jam free.
From my experience, you’ll often hear a satisfying clink or crunch when whatever’s stuck in there finally breaks loose. That’s your cue that you’re making progress! Keep cranking the wrench until you can make a complete 360-degree rotation without any resistance.
Once it’s spinning freely, you’re almost ready to try the reset process again. First, let’s get the culprit out of there.
Safely Fish Out the Obstruction
Keep the power off. Grab a bright flashlight and shine it down the sink drain to see what you’re dealing with. Using a pair of needle-nose pliers or long kitchen tongs—and never your hands—reach in and pull out whatever is causing the trouble. The usual suspects I find are:
- Peach pits or other hard fruit seeds
- Small chicken bones
- A stray piece of silverware that fell in unnoticed
- Bottle caps
With the object removed, run through the reset steps one more time. If it was a really nasty jam, it might have backed things up down the line. If your sink is now draining slowly, take a look at my guide for tips on how to unclog a kitchen sink.
If you’ve tried all this and the disposal still just hums, the issue might be more serious, like a seized motor. At that point, getting a quick diagnosis from an expert can save you a ton of guesswork and frustration. You can connect with a certified appliance tech on JustAnswer for immediate one-on-one help.
Preventing Future Jams and Resets
You managed to clear the jam—nice work! That’s a great feeling, but the real win is making sure you don’t have to do it again anytime soon. After seeing thousands of these scenarios in my repair work, I can tell you that most disposal problems come down to how they’re used day-to-day.
A little bit of preventative care goes a long way and barely takes any extra time.
The most important habit to build is simple: always run a strong stream of cold water before you start grinding, while the disposal is running, and for at least 30 seconds after you turn it off. Cold water is your best friend here. It keeps fats and grease solid, allowing the blades to chop them into tiny pieces that flush away easily. Using hot water does the opposite—it melts grease, which then cools and sticks to the inside of your pipes, building up into a nasty clog.
What to Avoid Putting Down Your Disposal
So many jams are caused by simple misinformation. During my JustAnswer sessions, I often find myself correcting homeowners on a few common items that seem harmless but are actually terrible for your disposal. Your compost bin or trash can is a much better home for these.
- Fibrous Vegetables: Think celery stalks, corn husks, asparagus, and even onion skins. Their long, stringy fibers can wrap around the blades like hair around a vacuum cleaner brush, completely seizing the motor.
- Coffee Grounds and Eggshells: This one surprises people. They don’t seem like a big deal, but they build up over time into a thick, gritty sludge that’s notorious for causing slow drains and stubborn clogs.
- Starchy Foods: Potato peels are a classic offender, but this also includes large amounts of rice or pasta. Starches absorb water and expand into a thick paste, effectively gluing your disposal’s grinding chamber shut.
- Grease, Oil, and Fat: I can’t say it enough—these are the absolute worst enemies of your entire plumbing system, not just the disposal.
Master Tech Tip: To keep your disposal running clean, toss a handful of ice cubes down it once a week and let it grind them up. It helps scour away any gunk built up on the blades. For a quick deodorizer, follow that up with a few lemon or lime peels for a fresh, citrus scent.
Taking care of your disposal is just one piece of the puzzle. For a complete guide to keeping your entire home in peak condition, take a look at my comprehensive seasonal home maintenance checklist. A little bit of prevention is always better than a weekend spent on repairs.
Common Garbage Disposal Questions
After we get a disposal running again in one of my JustAnswer sessions, homeowners usually have a few follow-up questions. Even when the reset works like a charm, it’s natural to have some lingering concerns. I’ve put together some quick, no-nonsense answers to the questions I hear the most.
Why Does My Garbage Disposal Keep Needing a Reset?
If you find yourself hitting that reset button more than once in a blue moon, your disposal is trying to tell you something. It’s a definite red flag.
Nine times out of ten, frequent resets mean one of two things: you’re either overloading the unit with too much waste at once, or you’re trying to grind things that just shouldn’t go down there. Think fibrous stuff like celery stalks or starchy potato peels. These are notorious motor-killers that cause it to overheat and trip the internal breaker.
The other possibility? The motor is just getting old and weak. If you’ve cleaned up your act and are only grinding appropriate scraps but the problem persists, the motor might be on its last legs.
Expert Takeaway: Think of that reset button as your disposal’s cry for help. It’s signaling an underlying issue that needs attention before a minor headache turns into a full-blown replacement job.
If you’re stuck, this is the perfect time for a quick second opinion. A quick chat with an expert can help you figure out if it’s a simple fix or time to start shopping for a new unit.
The Reset Button Won’t Stay In. What Does That Mean?
A reset button that immediately pops back out is actually doing its job perfectly. It’s a safety feature, telling you there’s still a problem that makes it unsafe to restart.
Most often, the motor simply hasn’t cooled down enough from the last time it tripped. My rule of thumb is to give it a solid 10-15 minutes before you even think about trying it again. Be patient here.
If it still won’t stay pressed in after a good cool-down period, you’ve likely still got a physical jam. You’ll need to go back in with that Allen wrench and manually clear whatever’s stuck in there. In some rare cases, this can point to an internal electrical fault, which is a job best left for a pro to diagnose safely.
Can I Replace a Garbage Disposal Myself?
Absolutely. If you’re reasonably handy and comfortable with basic tools, replacing a garbage disposal is a totally doable DIY project. Most new models are designed with universal mounting systems that fit right into existing plumbing, which really simplifies things.
You can find great replacement units and any parts you might need from trustworthy online suppliers like RepairClinic, Parts Select, or Reliable Parts (if you’re in Canada).
That said, if the thought of messing with plumbing and electrical wires makes you nervous, don’t force it. Getting some quick, step-by-step guidance from a professional on JustAnswer can give you the confidence to get the job done right the first time, without any leaks or mishaps.
Still wrestling with a stubborn appliance or have more questions? Don’t burn your weekend frustrated under the sink. You can solve this problem in minutes with a little expert help.
You can get personalized, 1-on-1 help from an appliance technician on JustAnswer in minutes to solve your problem quickly and affordably. For other home repair needs, you can also find any expert you need using this link.
And for more visual guides and repair walkthroughs, be sure to check out my MasterTechScott YouTube Channel.
Have you ever had a reset button that wouldn’t cooperate? Share your story or ask a question in the comments below

Leave a comment