When it comes to your HVAC system, a little bit of regular maintenance goes a long way. The core tasks aren’t complicated, but they are crucial for preventing expensive breakdowns and keeping your energy bills in check. Think monthly air filter changes, making sure the outdoor unit is clear of leaves and debris, and scheduling an annual professional tune-up for the more complex stuff. That simple routine is truly the key to a reliable, long-lasting system.
Your Essential HVAC Maintenance Checklist
Keeping your HVAC in top shape is about more than just staying comfortable; it’s about protecting your wallet from surprise repair bills. In my JustAnswer sessions, I’ve walked countless homeowners through problems that could have been completely avoided with just a little preventative care. This checklist is the foundation for keeping your system healthy.
The best part? The most effective tasks are usually the easiest ones. You don’t need to be a certified tech to make a huge difference in your system’s performance and lifespan. It really all comes down to being consistent.
Build a Seasonal Routine
The easiest way to stay on top of maintenance is to build a simple, seasonal routine. Certain jobs are more critical at different times of the year, like prepping your A/C before a summer heatwave or getting your furnace ready for winter. For a broader look at how this fits into your home’s upkeep, I’ve put together a more complete seasonal home maintenance checklist you can check out.
This infographic gives you a great visual breakdown of the core maintenance tasks and how often you should be doing them.
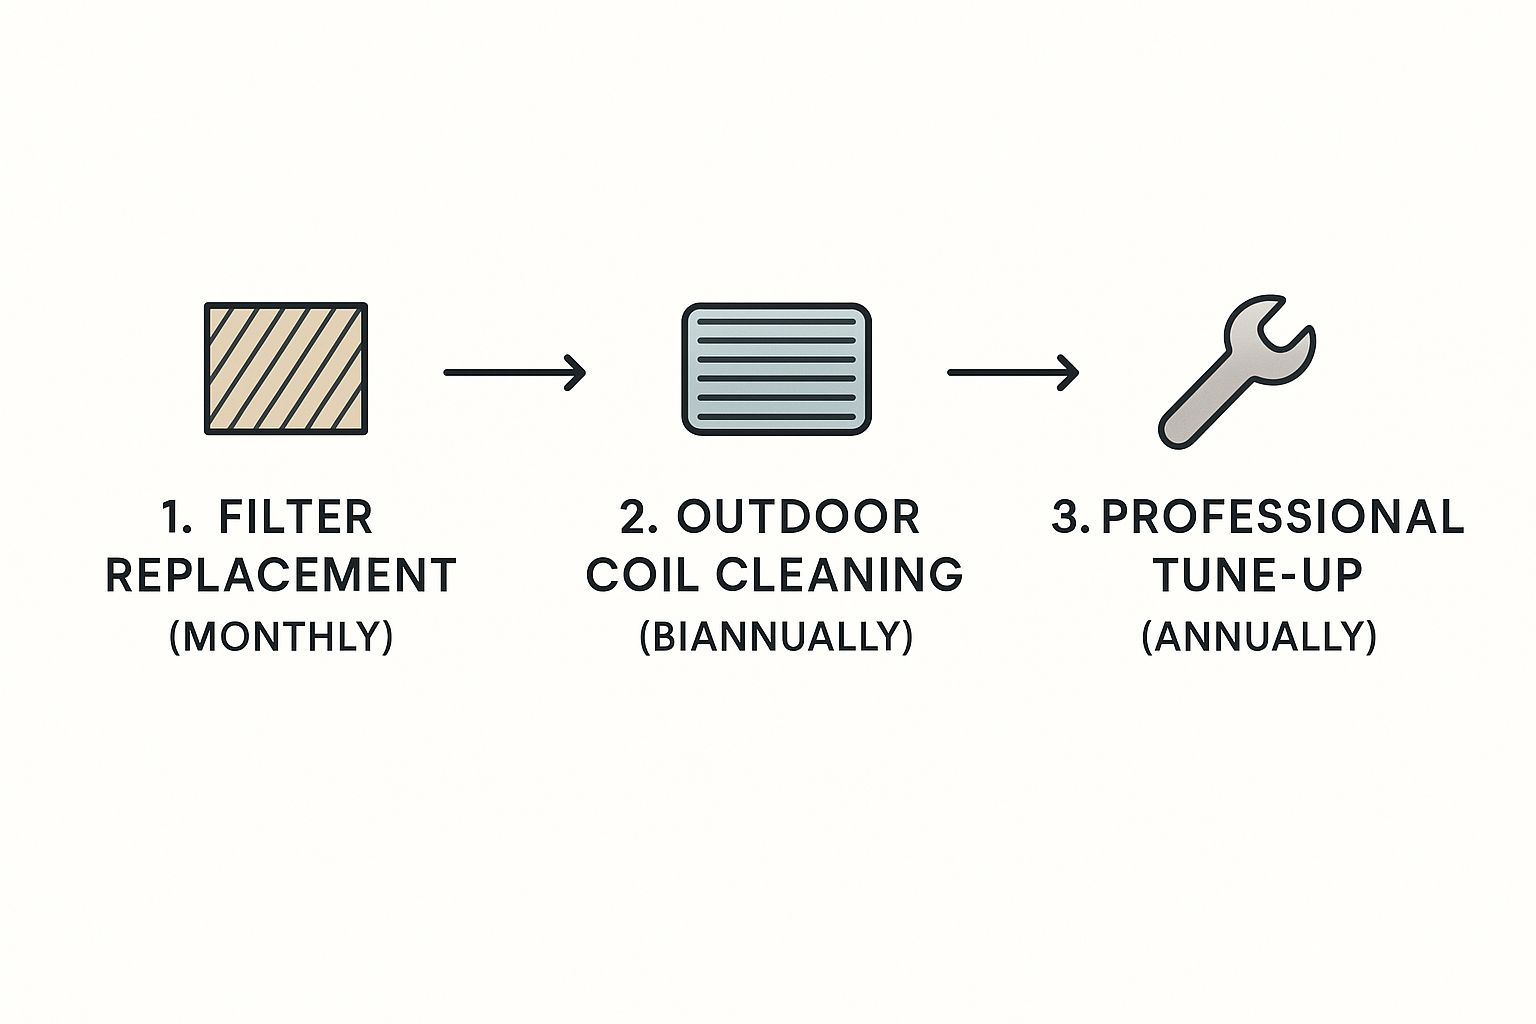
As you can see, those filter changes are your first line of defense. After that, you have the less frequent but equally vital jobs of cleaning the outdoor unit and calling in a pro for an annual check-up.
This proactive approach isn’t just a suggestion; the numbers back it up. Proper maintenance is a big deal, with the global HVAC maintenance market projected to hit $146.46 billion by 2032. On a more personal level, studies have shown that skipping these simple tasks can drive up your system’s energy use by as much as 15-30%. That makes preventative care a no-brainer of a financial decision.
“In my experience as a Master Certified tech, a clogged air filter is the number one cause of system failure. It suffocates your HVAC, forcing it to work harder and leading to expensive damage that is entirely preventable.”
By sticking to a clear schedule, you can take control of your system’s health. The table below lays out what to do each season, so you always know what needs your attention and when.
Here’s a quick reference guide to help you stay on track with essential HVAC tasks throughout the year. Following this schedule will keep your system running smoothly and efficiently, no matter the season.
| Seasonal HVAC Maintenance Schedule | ||
|---|---|---|
| Season | DIY Maintenance Task | Recommended Frequency |
| Spring | Clean or replace A/C filters; clear debris from the outdoor unit; check and clean evaporator coils. | Monthly (filters); Once at start of season |
| Summer | Inspect and replace air filters regularly; monitor system for unusual noises or reduced cooling. | Monthly |
| Fall | Clean or replace furnace filters; test heating system before cold weather hits; clear outdoor unit. | Monthly (filters); Once at start of season |
| Winter | Continue to inspect and replace air filters; keep outdoor heat pump units free of snow and ice. | Monthly |
This simple plan removes the guesswork and helps you spread out the maintenance, making it much more manageable. A few minutes each season can save you from a lot of headaches (and hefty repair bills) down the road.
Mastering Filter Changes and Coil Cleaning
Alright, let’s get our hands dirty with the two jobs that give you the most bang for your buck in DIY HVAC maintenance: swapping out the air filter and cleaning the outdoor unit’s coils.
After years of troubleshooting systems in my JustAnswer sessions, I can tell you that a clogged filter is the number one cause of system failure. It’s no exaggeration—a dirty filter literally suffocates your system. This forces the blower motor to work way too hard, which leads to expensive and totally preventable breakdowns.
The Truth About Air Filters
When it comes to picking a filter, it’s not about buying the most expensive one. It’s about how often you change it.
Those high-MERV (Minimum Efficiency Reporting Value) filters sound great on the box, but they can actually be too restrictive for many systems. A super-dense filter can choke off airflow just as badly as a dirty one, putting a serious strain on your equipment.
The sweet spot for most homes is a MERV 8-11 filter. These hit the perfect balance between good air filtration and healthy airflow. But the real secret isn’t the MERV rating; it’s the schedule. Change it every 1-3 months, no excuses.
Seriously, a fresh, cheap filter changed every month is infinitely better for your system than a pricey one you leave in for half a year. Just find the filter slot on your indoor unit (that’s your furnace or air handler), slide out the old one, and pop in a new one of the same size. Make sure the little arrow on the filter’s frame points toward the unit itself.
If you’re ever staring at a wall of filters at the store and feel lost, or if you run into any other weird issues, don’t guess. For a few bucks, you can get a quick, reliable answer from a certified pro on JustAnswer and dodge a costly mistake.
Cleaning Your Outdoor Condenser Coils
Next up, let’s head outside to your condenser unit. This is the big metal box with the fan on top, and its whole job is to dump heat from inside your house to the outdoors. It can’t do that very well when it’s caked in dirt, grass clippings, and that fuzzy stuff from cottonwood trees.
Cleaning it once or twice a year is a non-negotiable part of keeping your HVAC system healthy. Here’s how to do it safely.
A Step-by-Step Guide to a Clean Condenser
- Safety First: Kill the Power. Look for the outdoor electrical disconnect box right next to the condenser. It’s usually a small grey metal box. Open it and either pull out the disconnect block or flip the switch to “OFF.” Do not skip this step. It’s critical.
- Clear the Area. Pull away any weeds, leaves, or anything else crowding the unit. Your system needs at least two feet of clear space on all sides to breathe properly.
- Give it a Gentle Rinse. Use a regular garden hose with a gentle spray nozzle. If you can get the top grate off, it’s best to spray from the inside out. Otherwise, spray from the outside in at a slight angle. The goal here is to wash the gunk off, not to blast it with high pressure. You can easily bend the delicate aluminum fins that way.
- Straighten Bent Fins. If you notice some of the fins are bent over, you can gently straighten them with a fin comb. You can find these at any home improvement store or online at places like RepairClinic, Parts Select, or Reliable Parts. It’s like a comb for your air conditioner.
Once everything is clean and has a chance to dry, you can put the disconnect back in and restore the power. This simple cleaning can make a huge difference in your system’s efficiency and can prevent the compressor from overheating on a blazing hot day.
For more in-depth troubleshooting, this comprehensive HVAC troubleshooting guide is a fantastic resource.
How to Inspect Your System Like a Pro
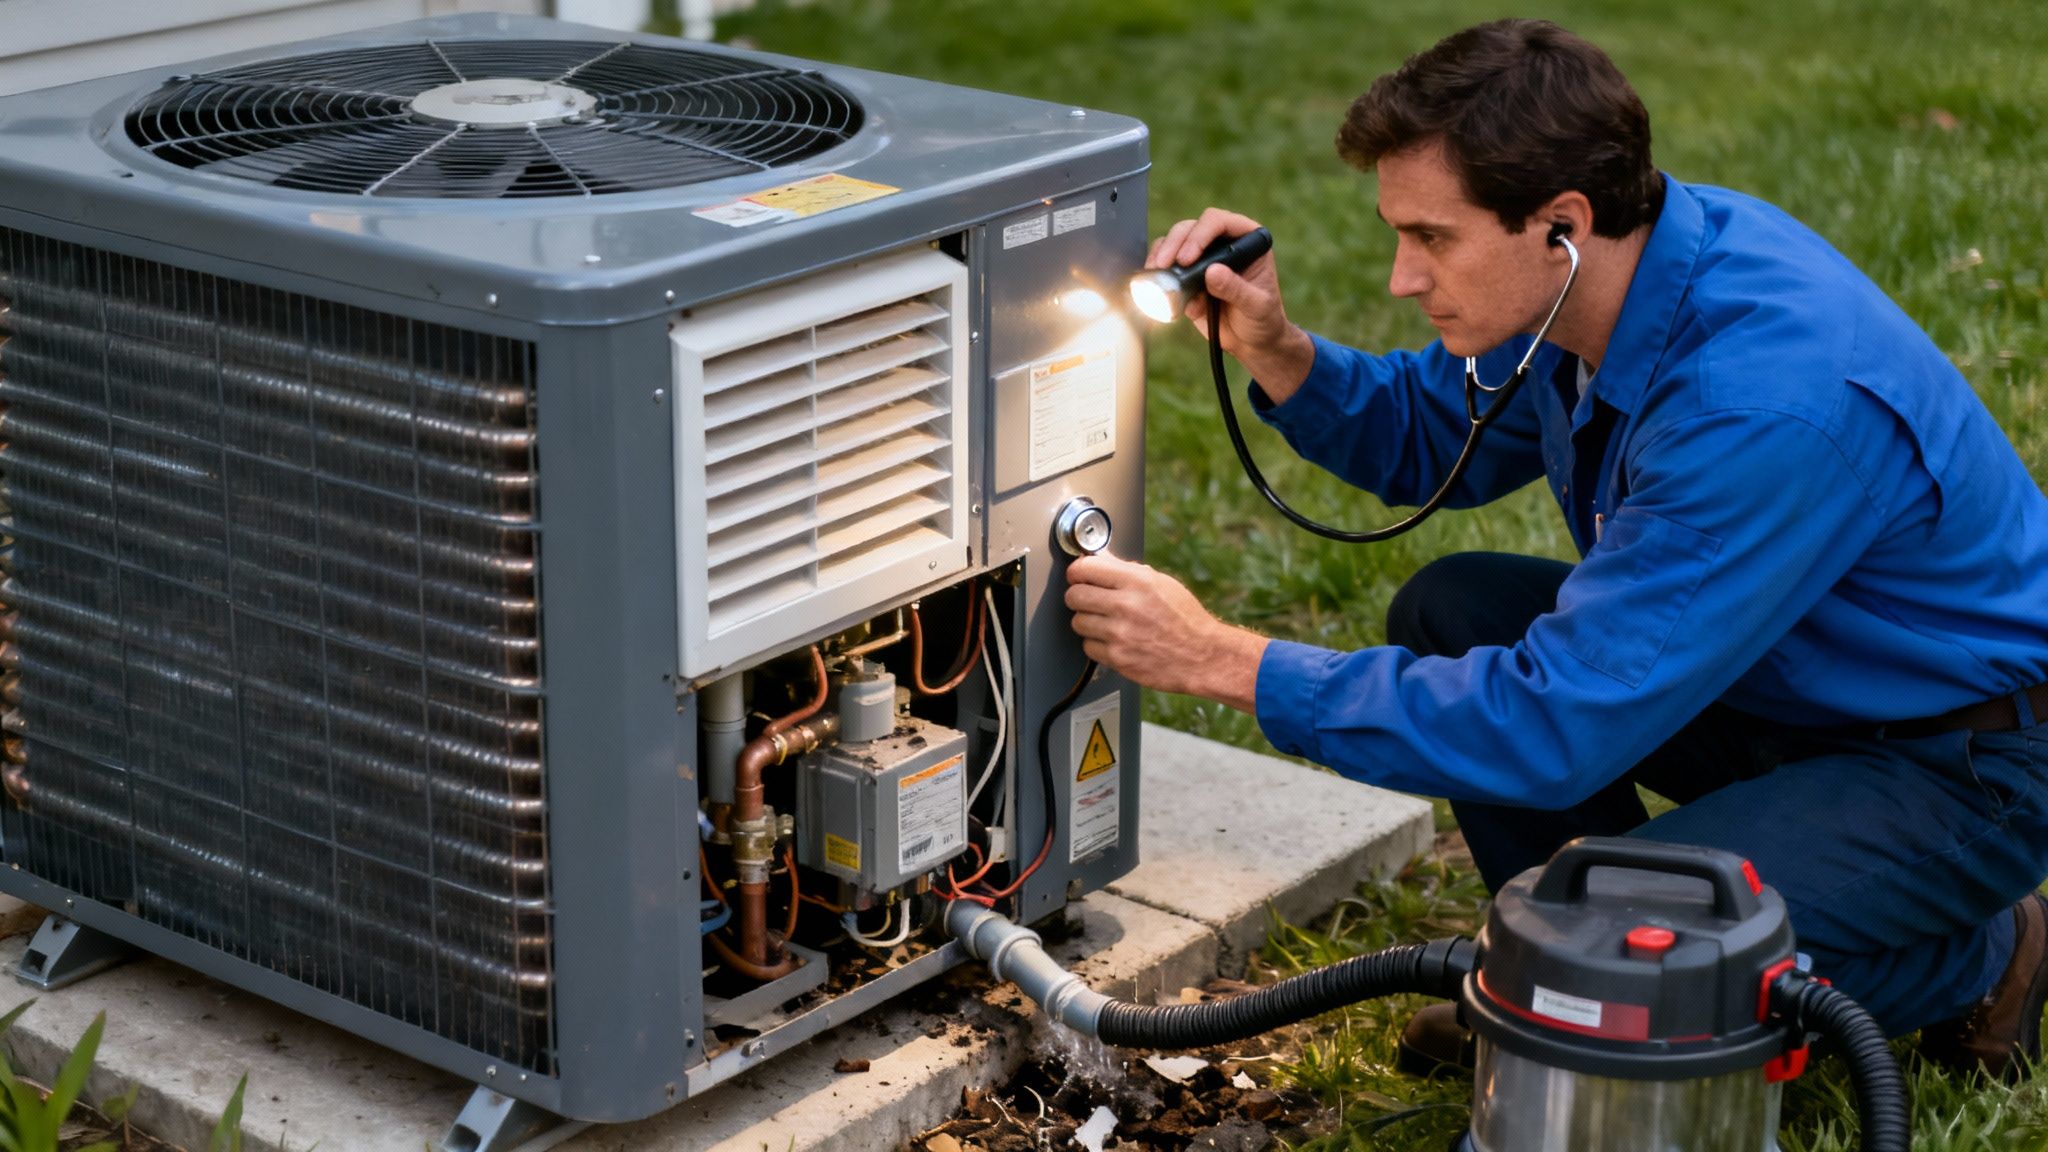
You don’t need a technician’s license to spot HVAC problems before they spiral out of control. Think of yourself as the first line of defense. Just by learning to do a simple visual and auditory check, you can catch the little things that often turn into four-figure repair bills if you ignore them.
I’ve helped countless people on JustAnswer diagnose issues simply by having them walk me through what they see and hear. It’s an incredibly powerful skill for any homeowner. This proactive approach is a sound financial strategy, especially when you consider that U.S. consumers spend over $10 billion a year on HVAC repairs. With poorly maintained systems using up to 20% more energy, a quick inspection is a small investment with a huge payoff.
What to Look and Listen For
Start by just paying attention to the noises your system makes. A healthy HVAC system should settle into a consistent, low hum when it’s running.
- Rattling or Banging: These sounds, especially from the indoor air handler, usually point to loose parts or debris rattling around in the blower assembly.
- Screeching or Squealing: High-pitched sounds are the classic tell-tale sign of a failing blower motor or a worn-out fan belt. It’s a cry for help.
- Loud Buzzing: This can signal an electrical issue or a problem with the compressor in your outdoor unit. Don’t just hope it goes away.
Next, do a quick visual sweep around both your indoor and outdoor units. Keep an eye out for any water pooling near the indoor unit—that’s a big red flag for a clogged condensate drain line. Outside, make sure the unit is sitting level and isn’t being suffocated by leaves, grass clippings, or other debris.
Checking the Condensate Drain Line
Honestly, one of the most common—and preventable—issues I see is a clogged condensate drain line. This little PVC pipe’s whole job is to carry moisture away from your indoor unit. When it gets gunked up with algae and sludge, water has nowhere to go but back into your house, potentially causing serious water damage.
A healthy drain line should be clear. If you see water sitting in the drain pan right underneath your indoor unit, you’ve almost certainly got a clog. The good news is you can often clear a minor blockage yourself with a wet/dry vac. Just attach the vacuum hose to the end of the drain line outside your home and let it run for a couple of minutes to suck all that gunk out.
Don’t Forget the Vents
Last but not least, take a quick walk through your house while the system is on. Hold your hand up to each supply vent. You should feel a consistent, strong stream of air from every single one. If the airflow in one room is weak or non-existent, it could mean you have a disconnected or even a crushed duct in your attic or crawlspace.
It’s a simple check that so many homeowners forget, but it tells you a lot about the health of your ductwork. Catching these problems early is everything. If you start noticing major issues, you can explore our guide on when to replace your HVAC system for more insights on the bigger picture.
Upgrading to a Smart Thermostat for Better HVAC Health
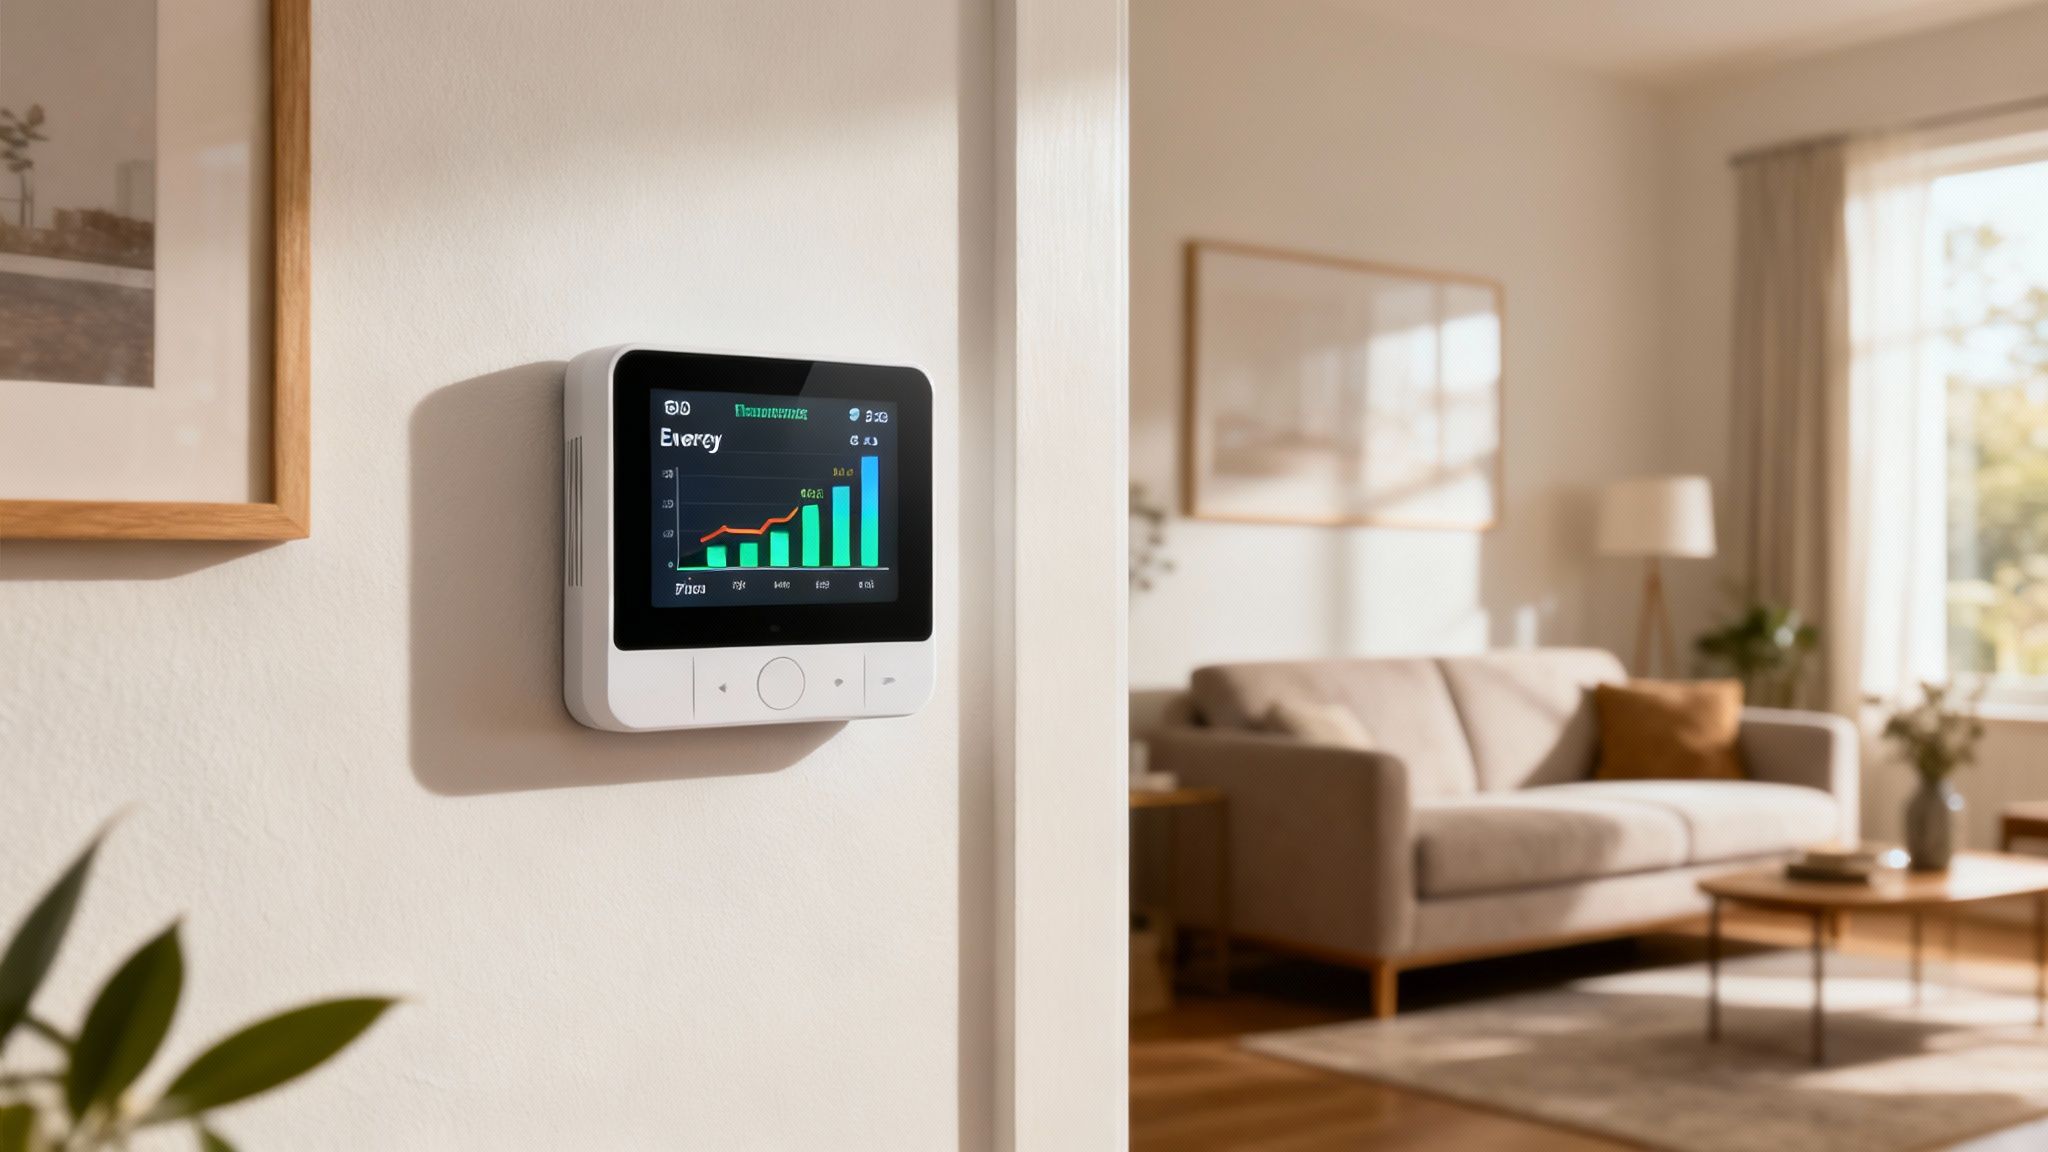
True HVAC maintenance isn’t just about getting your hands dirty anymore. It’s about working smarter, not harder. Swapping out your old thermostat for a smart one is probably the biggest leap you can take in that direction. Think of it as the new command center for your entire system’s health and efficiency.
These devices do so much more than just run a schedule. They’re constantly collecting data, giving you the inside scoop on your system’s performance. They can send you reminders for filter changes or flag unusually long run times. I’ve seen this firsthand in JustAnswer sessions where these alerts helped homeowners catch a small issue long before it snowballed into a catastrophic system failure.
This proactive approach is really where the industry is heading. The global HVAC market is booming, expected to hit nearly $442.68 billion by 2033, and a huge driver of that growth is smart tech that allows for this kind of predictive maintenance. You can explore the full HVAC systems industry report if you want to dive deeper into the numbers.
Key Features to Look For
When you’re shopping for a smart thermostat, zero in on the features that will actually help you with maintenance.
- Usage Reports: These reports are gold. They show you exactly how many hours your system is running each day, which makes it easy to spot when something is working harder than it should.
- Maintenance Reminders: Forget taping a note to the air handler. Get automatic pings on your phone when it’s time to change a filter or book a professional tune-up.
- Error Alerts: This is the big one. The best models actively monitor performance and can warn you about problems like a furnace that’s failing to ignite or an AC that just can’t keep up.
These features empower you to keep tabs on your system’s health without needing a technician’s toolkit. If you’re new to home automation, check out our guide on what smart home technology can do for you.
As a technician with Master Certification in all Samsung Appliances, I’ve developed a real trust in their smart home products. They’re reliable, the interfaces are straightforward, and they make managing your home’s climate incredibly simple.
Integrating with Your Smart Home
A smart thermostat really shines when it’s part of a bigger smart home ecosystem. When it can talk to your other devices, it can make your HVAC system even more efficient.
For instance, you could link your thermostat to smart window sensors. If a window is left open, the thermostat can automatically shut off the AC. This saves a ton of energy and prevents needless wear and tear on your system. To get a better handle on how different devices work together, you can read up on specialized smart home solutions like Google Nest. This kind of seamless integration really is the future of home maintenance.
Knowing When to Call for Expert HVAC Help
Doing your own maintenance is a great way to keep your HVAC system running smoothly, but it’s just as crucial to know when you’re in over your head. Some jobs are strictly for the pros, not just because they’re complicated, but because they can be downright dangerous.
Knowing how to spot the red flags of a serious problem can save you from a hazardous situation—and a much, much bigger repair bill down the road. If you’re ever on the fence, wondering if you’re dealing with a simple fix or a major meltdown, it’s always better to play it safe and call for backup.
Red Flags That Demand a Professional
Some symptoms are non-negotiable. When you see these, it’s time to power down the system and pick up the phone. This isn’t just friendly advice; it’s a critical step to prevent serious damage or a safety hazard.
- Suspected Refrigerant Leaks: Is your system blowing warm air? Do you see ice forming on the copper lines outside? That’s a classic sign of a refrigerant leak. Handling refrigerant requires an EPA license for a reason—it’s harmful if you’re not trained, and this is absolutely a job for a certified technician.
- Major Electrical Faults: If you hear a loud buzzing from the outdoor unit, your breaker keeps tripping, or you smell something burning, you have a serious electrical issue. These are warning signs of a failing compressor or a bad capacitor. Please, don’t try to troubleshoot these yourself.
- The System Is Completely Dead: You’ve checked the thermostat batteries and flipped the circuit breaker, but still nothing? The problem is deeper inside the system. It could be anything from a fried transformer to a dead motor or a bad control board—all of which require a pro to diagnose safely.
- Loud, Persistent Noises: A sudden banging, grinding, or a high-pitched squeal is your HVAC system screaming for help. These aren’t normal operational sounds; they often point to an impending mechanical failure that could destroy a major component if ignored.
What’s in a Real Professional Tune-Up?
Calling a pro for an annual tune-up is one of the smartest investments you can make for your system. But what should you expect? A real professional service is a lot more than just swapping out a filter.
“A common question I get on JustAnswer is, ‘What does a real tune-up include?’ A technician should be checking refrigerant pressures, inspecting all electrical connections, testing safety controls, cleaning coils thoroughly, and measuring motor amperage to ensure everything is operating to the manufacturer’s specifications.”
This kind of comprehensive check is something you just can’t do on your own. It ensures your system is running efficiently and, most importantly, safely. For renters trying to sort out A/C issues, our guide on how to fix an AC in an apartment can offer some specific advice for your situation.
If you’re ever unsure about a weird noise or symptom, getting a quick second opinion before scheduling a full service call can be a huge help. A quick chat with an online tech can confirm if you have a real problem on your hands, potentially saving you the cost of an unnecessary visit. Click here to connect with a certified technician like me on JustAnswer for an immediate, affordable answer.
Your Top HVAC Maintenance Questions Answered
After years of fielding questions on JustAnswer from homeowners just like you, I’ve seen it all. Certain questions pop up time and time again. Let’s cut through the noise and get straight to the practical answers you’re looking for.
How Often Should My HVAC System Be Professionally Serviced?
The industry standard, and my personal recommendation, is twice a year. Think of it as a pre-season tune-up: once in the spring for your air conditioner before the heat hits, and again in the fall for your furnace before the first cold snap.
This schedule allows a trained technician to spot the small stuff—a fraying wire, a weak capacitor—before it turns into a major, no-heat-in-January kind of breakdown. While your own DIY maintenance is crucial, a pro has the tools to check things like refrigerant levels and critical safety controls that are off-limits for homeowners.
Are Expensive High-MERV Air Filters Really Better?
This is a classic “it depends” situation. A higher MERV (Minimum Efficiency Reporting Value) number means the filter can trap smaller particles, which sounds great, especially for allergies. But there’s a catch.
These ultra-dense filters also restrict airflow. If your HVAC system wasn’t built to handle that resistance, you’re just making the fan motor work harder, which can drive up your energy bills and even shorten its lifespan. For most homes, a mid-range filter—think MERV 8 to 11—changed religiously every 1 to 3 months, is the sweet spot. It provides excellent filtration without choking your system.
Does Closing Vents in Unused Rooms Save Energy?
I see this one all the time, and it’s one of the most damaging myths out there. Your HVAC unit is designed as a balanced, closed-loop system. It’s engineered to push a specific amount of air through your ductwork.
When you close vents, you don’t magically save energy. You just jack up the pressure inside the ducts. This forces air out of tiny leaks in places you can’t see, puts a huge strain on your blower motor, and can even cause the indoor coil to freeze into a solid block of ice.
A much smarter approach is to keep all the vents open and let a programmable or smart thermostat manage the temperature for you. If you’re looking for more tips and detailed DIY guides, I share a lot of my field experience on my YouTube channel.
Why Does My AC Smell Musty When I First Turn It On?
That dreaded “dirty sock” smell is a tell-tale sign of mold and bacteria. Over the winter, your indoor evaporator coil sits in a dark, damp environment. When you fire up the AC, moisture condenses on the coil, and any dust that’s settled there becomes the perfect breeding ground for mildew.
As we covered earlier, regular coil cleaning is your best defense. If the smell is really stubborn, a technician can do a deep chemical clean or even install a UV light system inside your air handler. The UV light zaps organic growth before it can start, keeping your coil clean and the air fresh all season long.
Struggling with a problem that wasn’t covered here? HVAC systems can be tricky, and a small issue can quickly become a costly headache. Don’t guess—get a fast, affordable, and expert second opinion.
At HomeWise Services by Scott Master Tech, we believe in empowering homeowners with knowledge. But when you need a direct line to a certified expert for immediate troubleshooting, nothing beats a quick chat. Connect with a qualified Home Improvement expert like me on JustAnswer and get the right answer in minutes. What HVAC maintenance task are you tackling this season? Let me know in the comments below

Leave a comment